Sauce does not usually burn because it is “bad sauce.” It burns because it was asked to do the grill’s job too early.
If you found this guide, you are probably asking the right beginner questions: When should sauce go on? How do you get color without burning sugar? What does indirect heat actually mean? Do you need extra sauce on the side? Those are sensible questions. The answer is mostly timing, with a little restraint. Barbecue is generous. It is not especially forgiving of impatience.
A few basic references help keep that advice grounded. The USDA safe temperature chart is the practical backstop for knowing when your protein is actually done, and the USDA guidance on avoiding cross-contamination is a useful reminder that raw-meat sauce bowls should not become dinner-table dipping bowls by accident. Good grill habits are usually simple habits.
By the end of this article, you will have a beginner-friendly system for applying sauce late, using indirect heat without overcomplicating it, keeping dipping sauce separate, cleaning up properly, and building confidence with one manageable cook instead of six moving parts and a strong speech about improvisation.
The Short Rule First
If I had to reduce this entire article to one line, it would be this: cook first, sauce later, and keep the sauced food away from the hottest part of the grill. That one sentence prevents most beginner mistakes.
Why? Because many barbecue sauces contain sugar, fruit, honey, or molasses. Those ingredients are great for flavor and color, but they also brown quickly. If you brush sauce on while the food still has a long way to go over direct heat, the surface can darken too fast, turn bitter, and start sticking before the inside is ready.
The better system is straightforward. Season the food, let the grill do most of the cooking work, then use sauce near the end in light layers. Sauce is usually a finishing tool, not a first step.
3 Common Beginner Mistakes
1. Applying sauce too early
This is the big one. Early sauce sounds efficient, but on the grill it often creates a burnt outside and an underfinished inside. If the food still needs a lot of time, keep cooking plain or lightly seasoned. Save the glaze for the final stretch.
2. Using too much sauce at once
A heavy coat looks generous and behaves badly. Thick layers stay wet, drip into the fire, encourage flare-ups, and burn before they set. Thin coats give you control. You can always add another pass. You cannot easily unburn a sticky shell.
3. Using the wrong brush or tool
A small brush with short, stiff bristles makes it harder to lay down a light, even coat. A larger silicone or heat-safe basting brush is easier to manage, especially when you are working quickly near the end of the cook. Tongs also matter. If you are fighting the food and the brush at the same time, the grill usually wins.
If you are still building your setup, keep it simple: one brush, one pair of tongs, one clean platter, and one small bowl of sauce for the grill. The Grendeddy Dave’s BBQ homepage is a practical place to browse sauce options before you start adding more variables.
When to Apply Sauce for Better Caramelization
The goal is not just “late.” The goal is late enough that the food is close to done, but early enough that the sauce can set. That is where caramelization looks appealing instead of aggressive.
Here are the signs that it is time for the first coat:
- The meat or vegetables already look cooked on the outside, not raw or pale.
- The surface feels firmer and drier than it did at the start.
- You expect the food to finish within the last 5 to 10 minutes for quick-cooking items, or within roughly the last 10 to 20 minutes for larger pieces being held over indirect heat.
- You can move the food away from direct flame immediately after brushing.
For most beginners, a reasonable approach looks like this:
- Chicken pieces: start the first thin coat near the end, once the skin or surface has already taken on color.
- Pork chops or tenderloin medallions: sauce in the final minutes after the meat has mostly cooked through.
- Ribs or bone-in chicken: use indirect heat for most of the cook and begin light basting only after the surface has clearly set.
- Burgers: if you want sauce, apply a light layer after the burger has already been flipped and is nearly done.
The main decision point is visual, not dramatic. If the food still looks early, it is early. Wait. Good barbecue rewards patience more often than enthusiasm.
Indirect Heat Without the Vocabulary Problem
Indirect heat sounds more technical than it is. It simply means the food is cooking next to the main heat source, not directly over it. This matters most once sauce enters the conversation.
Think of your grill as two zones:
- Direct side: hotter, faster, better for searing or getting initial color.
- Indirect side: cooler, steadier, better for finishing food and setting sauce without scorching it.
Beginner-friendly setups are simple:
- Gas grill: leave one burner stronger or on, and keep the sauced food over the cooler side.
- Charcoal grill: bank the coals to one side and keep the food on the other side once sauce goes on.
If the sauce is applied over direct flame, drips can trigger flare-ups, and flare-ups do not negotiate. They simply turn a decent plan into cleanup. Once you brush on sauce, move the food to the calmer side and close the lid when appropriate so the glaze can set.
This also gives you time to think. Direct heat is for quick decisions. Indirect heat is where beginners usually get better results.
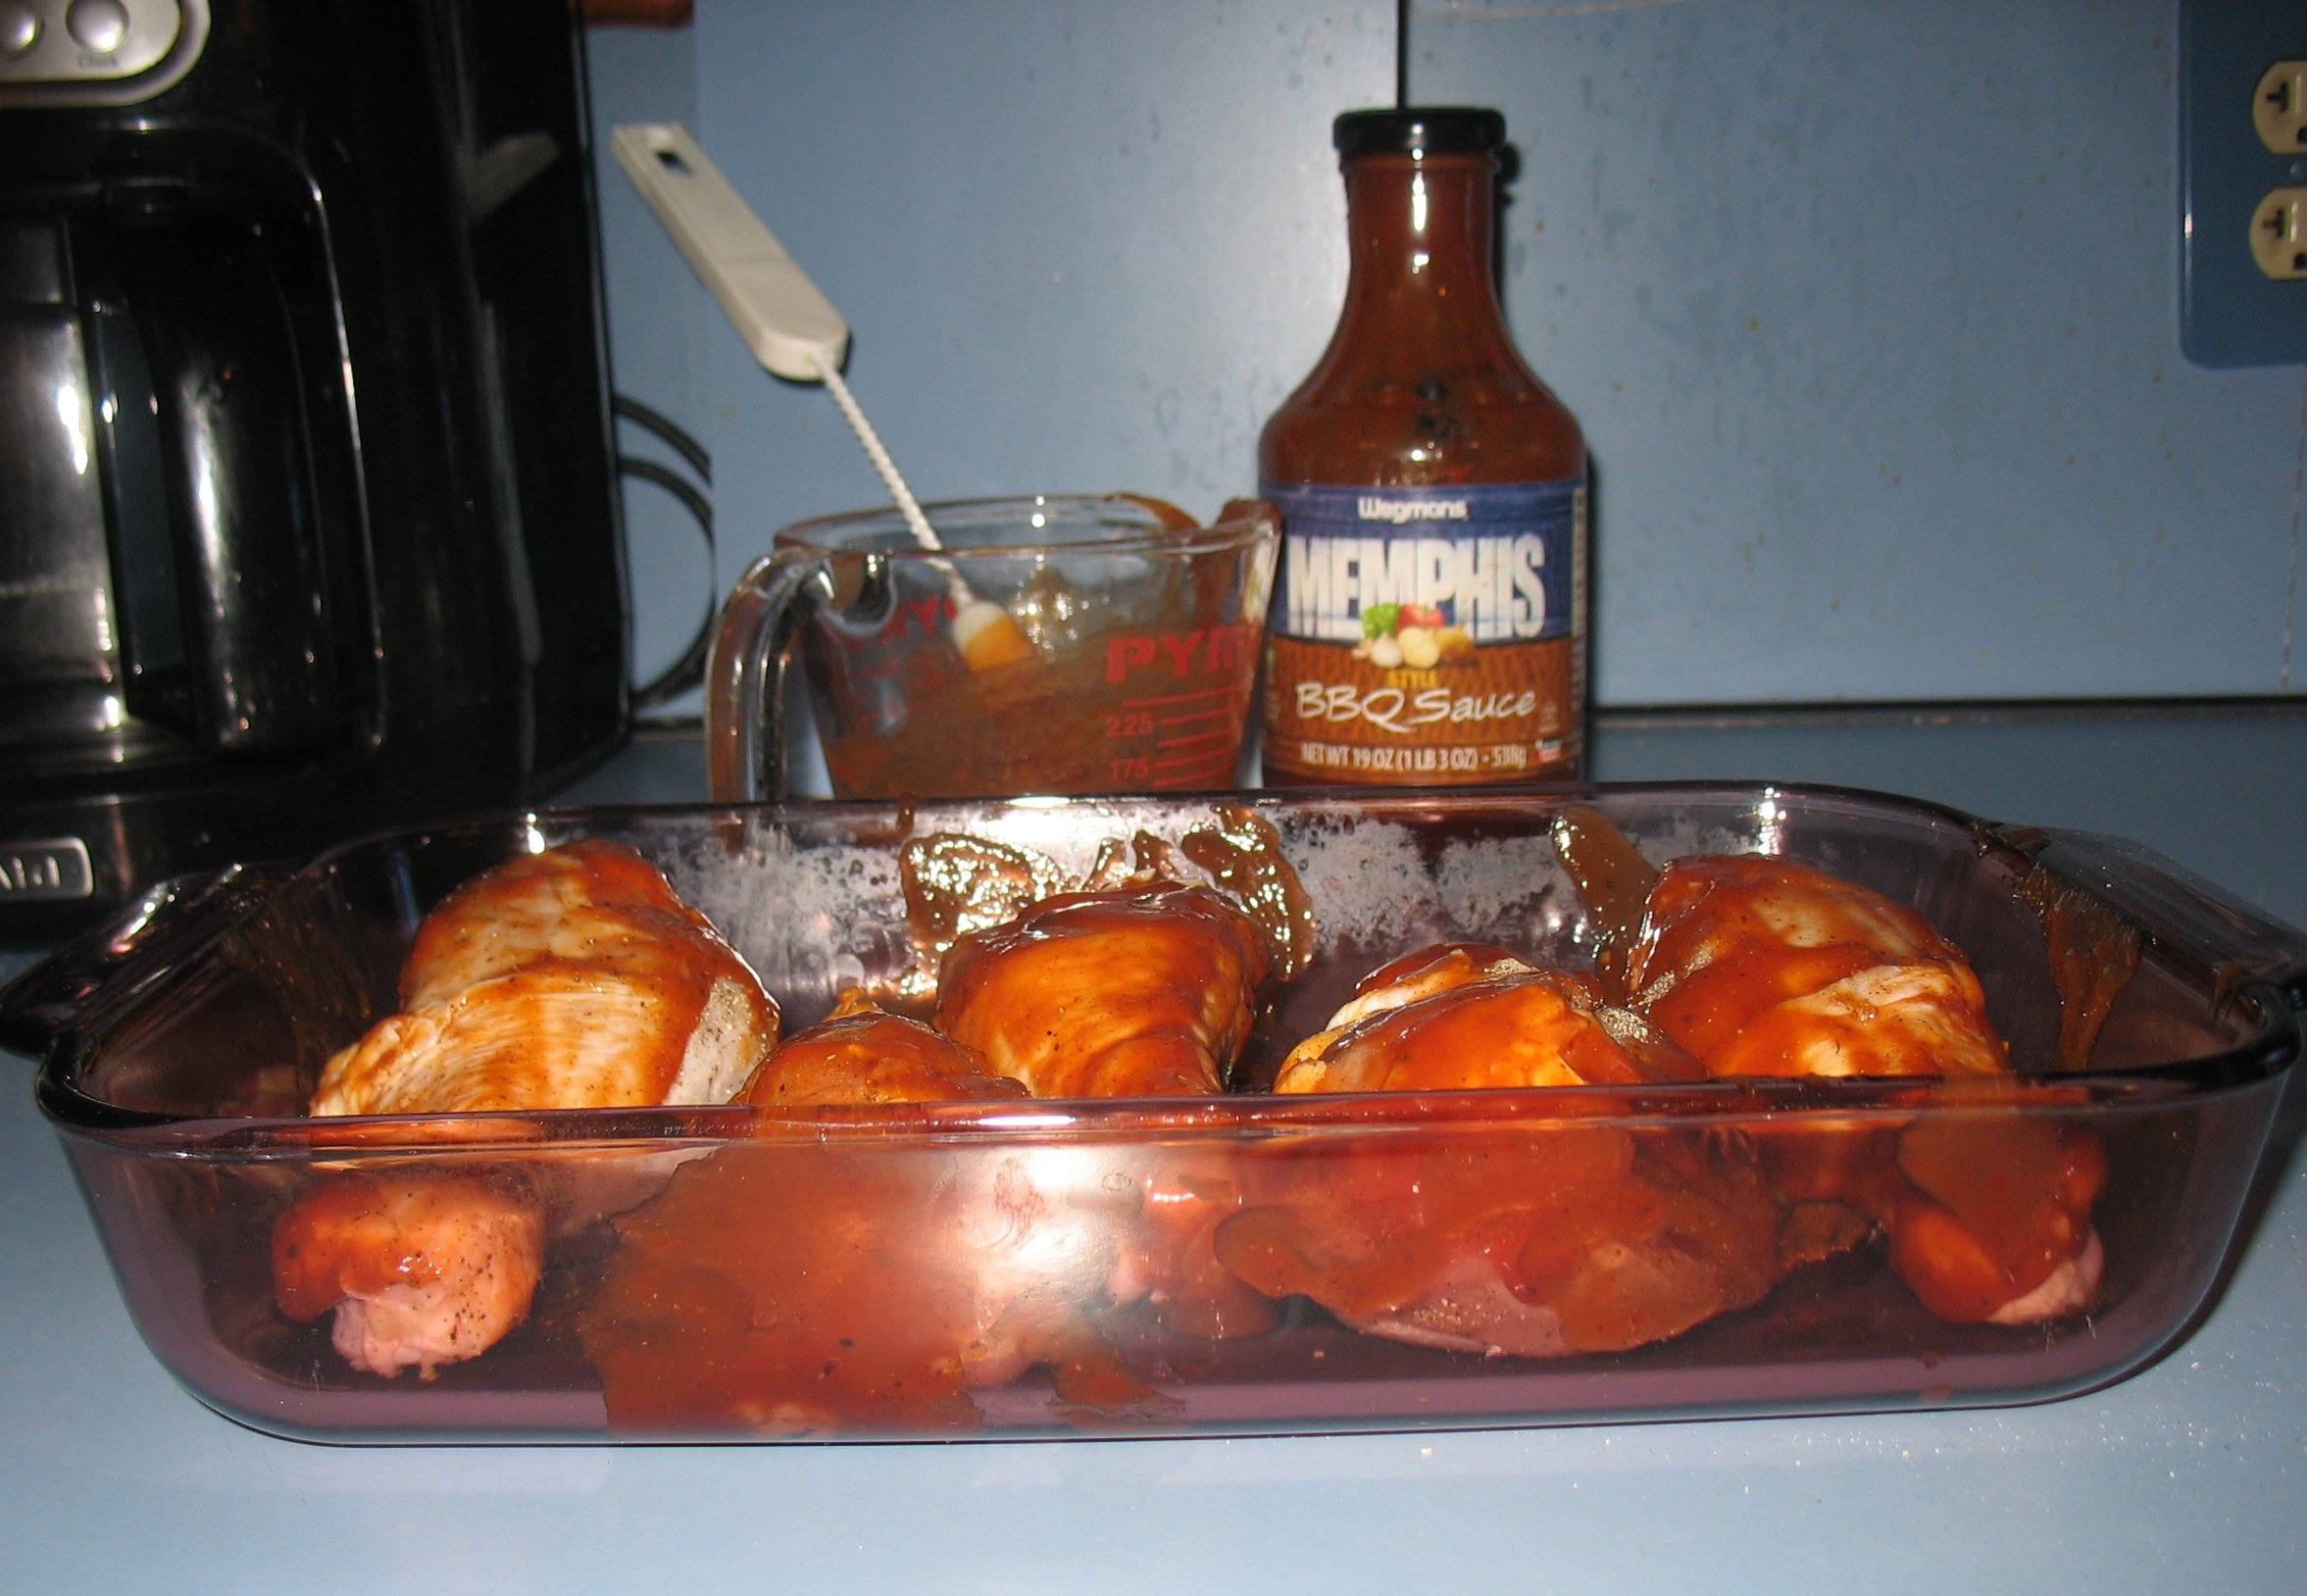
Keep a Separate Sauce for Dipping
This is both a flavor move and a food-safety move. The sauce you brush onto raw or partially cooked food should not be the same sauce bowl you hand to people at the table.
The safer and simpler system is:
- Pour one small bowl for brushing during the cook.
- Keep the main bottle or a second clean bowl untouched for serving.
- Discard or reboil any sauce that touched raw-meat tools if you are not sure how it was handled.
The flavor benefit is easy to miss until you try it. If you keep dipping sauce separate, you can grill with restraint and still let people add more at the plate. That means better balance on the grill and more control at the table. It is a solid trade.
Your Last 10 Minutes Checklist
This is the part most beginners need: a repeatable endgame. Use this checklist when the food is close.
| Time remaining | What to do | What to watch for |
|---|---|---|
| 10 minutes | Move food to indirect heat if it is not there already. Brush on the first thin coat. | The surface should look lightly glossy, not soaked. |
| 7 minutes | Close the lid if your setup allows it and let the sauce set. | No flare-ups, no puddling, no black spots forming. |
| 5 minutes | Turn the food gently and add a second light coat if the first one has settled. | The glaze should cling instead of sliding around. |
| 2 to 3 minutes | Add the final touch only if the color still needs it. | Look for shine and light tackiness, not a candy shell. |
| Finish | Pull the food, rest briefly, and serve clean dipping sauce on the side. | The sauce should smell sweet and savory, not bitter. |
A few extra reminders help here:
- Do not keep brushing simply because you still have sauce left.
- Do not chase deeper color with hotter heat after the sauce is already on.
- Use the USDA safe temperature chart if you are unsure whether the food is done.
How to Clean Up: Tools and Brushes
Cleanup is not glamorous, but it affects the next cook. A brush caked with old sugary sauce becomes less useful and less sanitary fast.
Here is the simple cleanup sequence:
- Rinse the brush as soon as you are done so sauce does not harden in place.
- Wash it with hot soapy water, paying attention to the base where sauce collects.
- Let it air dry fully before storing it.
- Wipe down tongs and thermometer handles that touched sticky sauce.
- Wash or replace any small bowls used for raw-side basting.
If you use a natural-bristle brush, replace it once the bristles start fraying or shedding. Silicone brushes are easier for many beginners because they wash cleanly and hold up better to repeat use. Either way, a clean brush gives you thinner, more even coats the next time around. That is a small detail with a real payoff.
Build Confidence: Start With One Sauce and One Protein
Beginners usually learn faster by reducing variables. Pick one protein and one sauce. Run the system once. Then adjust.
A strong first practice cook might be:
- Chicken thighs: forgiving, flavorful, and easy to glaze near the end.
- Pork chops: fast enough for a weeknight and simple to monitor.
- One sauce only: sweet-and-mild or tangy is easier to manage than juggling sweet, spicy, and extra-thick all at once.
What you are trying to learn on cook one is not everything. It is just this:
- How your grill runs hotter on one side than the other.
- How thin a “thin coat” really is.
- How long it takes your sauce to go from wet to set.
- How much extra sauce people actually want at the table.
That is enough for one session. You do not need a master plan and three backup glazes. You need one repeatable win.
Final Takeaway
Grilling with sauce is not complicated once you put the steps in the right order. Cook first. Sauce late. Use indirect heat to finish. Keep dipping sauce separate. Clean the tools before the sugar turns into shellac.
If you want more practical cookout guidance after this article, browse the latest posts on the Grendeddy Dave’s blog. Start with one sauce, one protein, and one calm cook. That is the business case for learning a grill: fewer moving parts, better results, and no need to explain away burnt sauce as “rustic.”