From Backyard to Back Pocket: A Sauce Checklist for Any Cookout
By Isla Bennett | June 26, 2026
Keep this checklist close and the sauce table calm. When the grill gets hot, the safest plan is usually the simplest one: a few good bottles, the right serving tools, and a table that does not turn into a sticky scavenger hunt. I like a cookout setup that answers the obvious questions before guests ever ask them, because the questions are always the same: What sauce should go on first? How many bottles do I need? Which one is for dipping, and which one is for brushing? And where did the napkins go?
That small amount of planning matters more than it sounds. Food safety guidance from the USDA’s grilling food safety guide and FoodSafety.gov’s cookout checklist both point to the same quiet truth: the easiest way to keep a cookout enjoyable is to prepare before the food starts moving. As Julia Child put it, “No one is born a great cook” – and the same is true for a relaxed host. Good prep is what makes the whole thing look effortless.
If you are planning a backyard dinner, a tailgate, or a family cookout with a few too many opinions about sauce, this article gives you the setup I would want on my own table: a short sauce lineup, serving tools that do not fight you, a simple plan for dipping and glazing, and a backup mild option for anyone who prefers less heat. You will also get a quick taste-test routine so you can make small adjustments before the guests arrive and the plates start circling faster than you expected.
The goal is not to turn your cookout into a production. It is to make it feel easy, welcoming, and prepared. That is usually the difference between “we almost forgot the sauce” and “that was the kind of meal people talk about on the way home.”
Quick Sauce Checklist
If you want the shortest version first, here it is. I recommend starting with a small but complete setup. You do not need a crowded table. You need a table that covers the most likely requests without turning into a puzzle.
| Checklist item | What to choose | Why it helps |
|---|---|---|
| Sauce lineup | 2-3 bottles with different flavor profiles | Gives guests variety without clutter |
| Serving tools | Brush, spoon, tongs, and ramekins | Keeps sauces tidy and easy to portion |
| Dipping plan | One or two sauces reserved for the table | Prevents cross-contact and messy double-dipping |
| Glazing plan | One sauce for brushing near the end of cooking | Helps the sauce shine instead of burn |
| Clean-up kit | Napkins, wipes, and a small trash bag | Makes sticky fingers less of a problem |
| Labeling | Simple labels for mild, medium, and hot | Stops guesswork before the first bite |
| Backup option | One mild sauce or plain tomato-based choice | Keeps everyone included |
| Taste test | Sample each sauce before guests arrive | Gives you time to adjust sweetness, salt, or heat |
The real win is not having “more sauce.” It is having the right sauce in the right place. Once that clicks, the rest of the cookout gets easier.
Sauce Terms You’ll Use Today
A few words help the plan stay simple. If you know the difference between a dip, a glaze, and a finishing sauce, you can avoid a lot of guesswork at the grill.
- Dip: A sauce served on the side so guests can add as much or as little as they like.
- Glaze: A sauce brushed onto the food near the end of cooking to add shine and flavor.
- Finish: A light drizzle after cooking, usually used for extra flavor without much heat exposure.
- Mild option: The gentle bottle that works for guests who want flavor first and heat later, if at all.
That is the whole vocabulary set. You do not need anything fancier for a backyard meal. The question is not whether the labels sound impressive. The question is whether the sauce gets people eating happily and keeps the cookout moving.
1. Sauce Lineup: Pick 2-3 Bottles
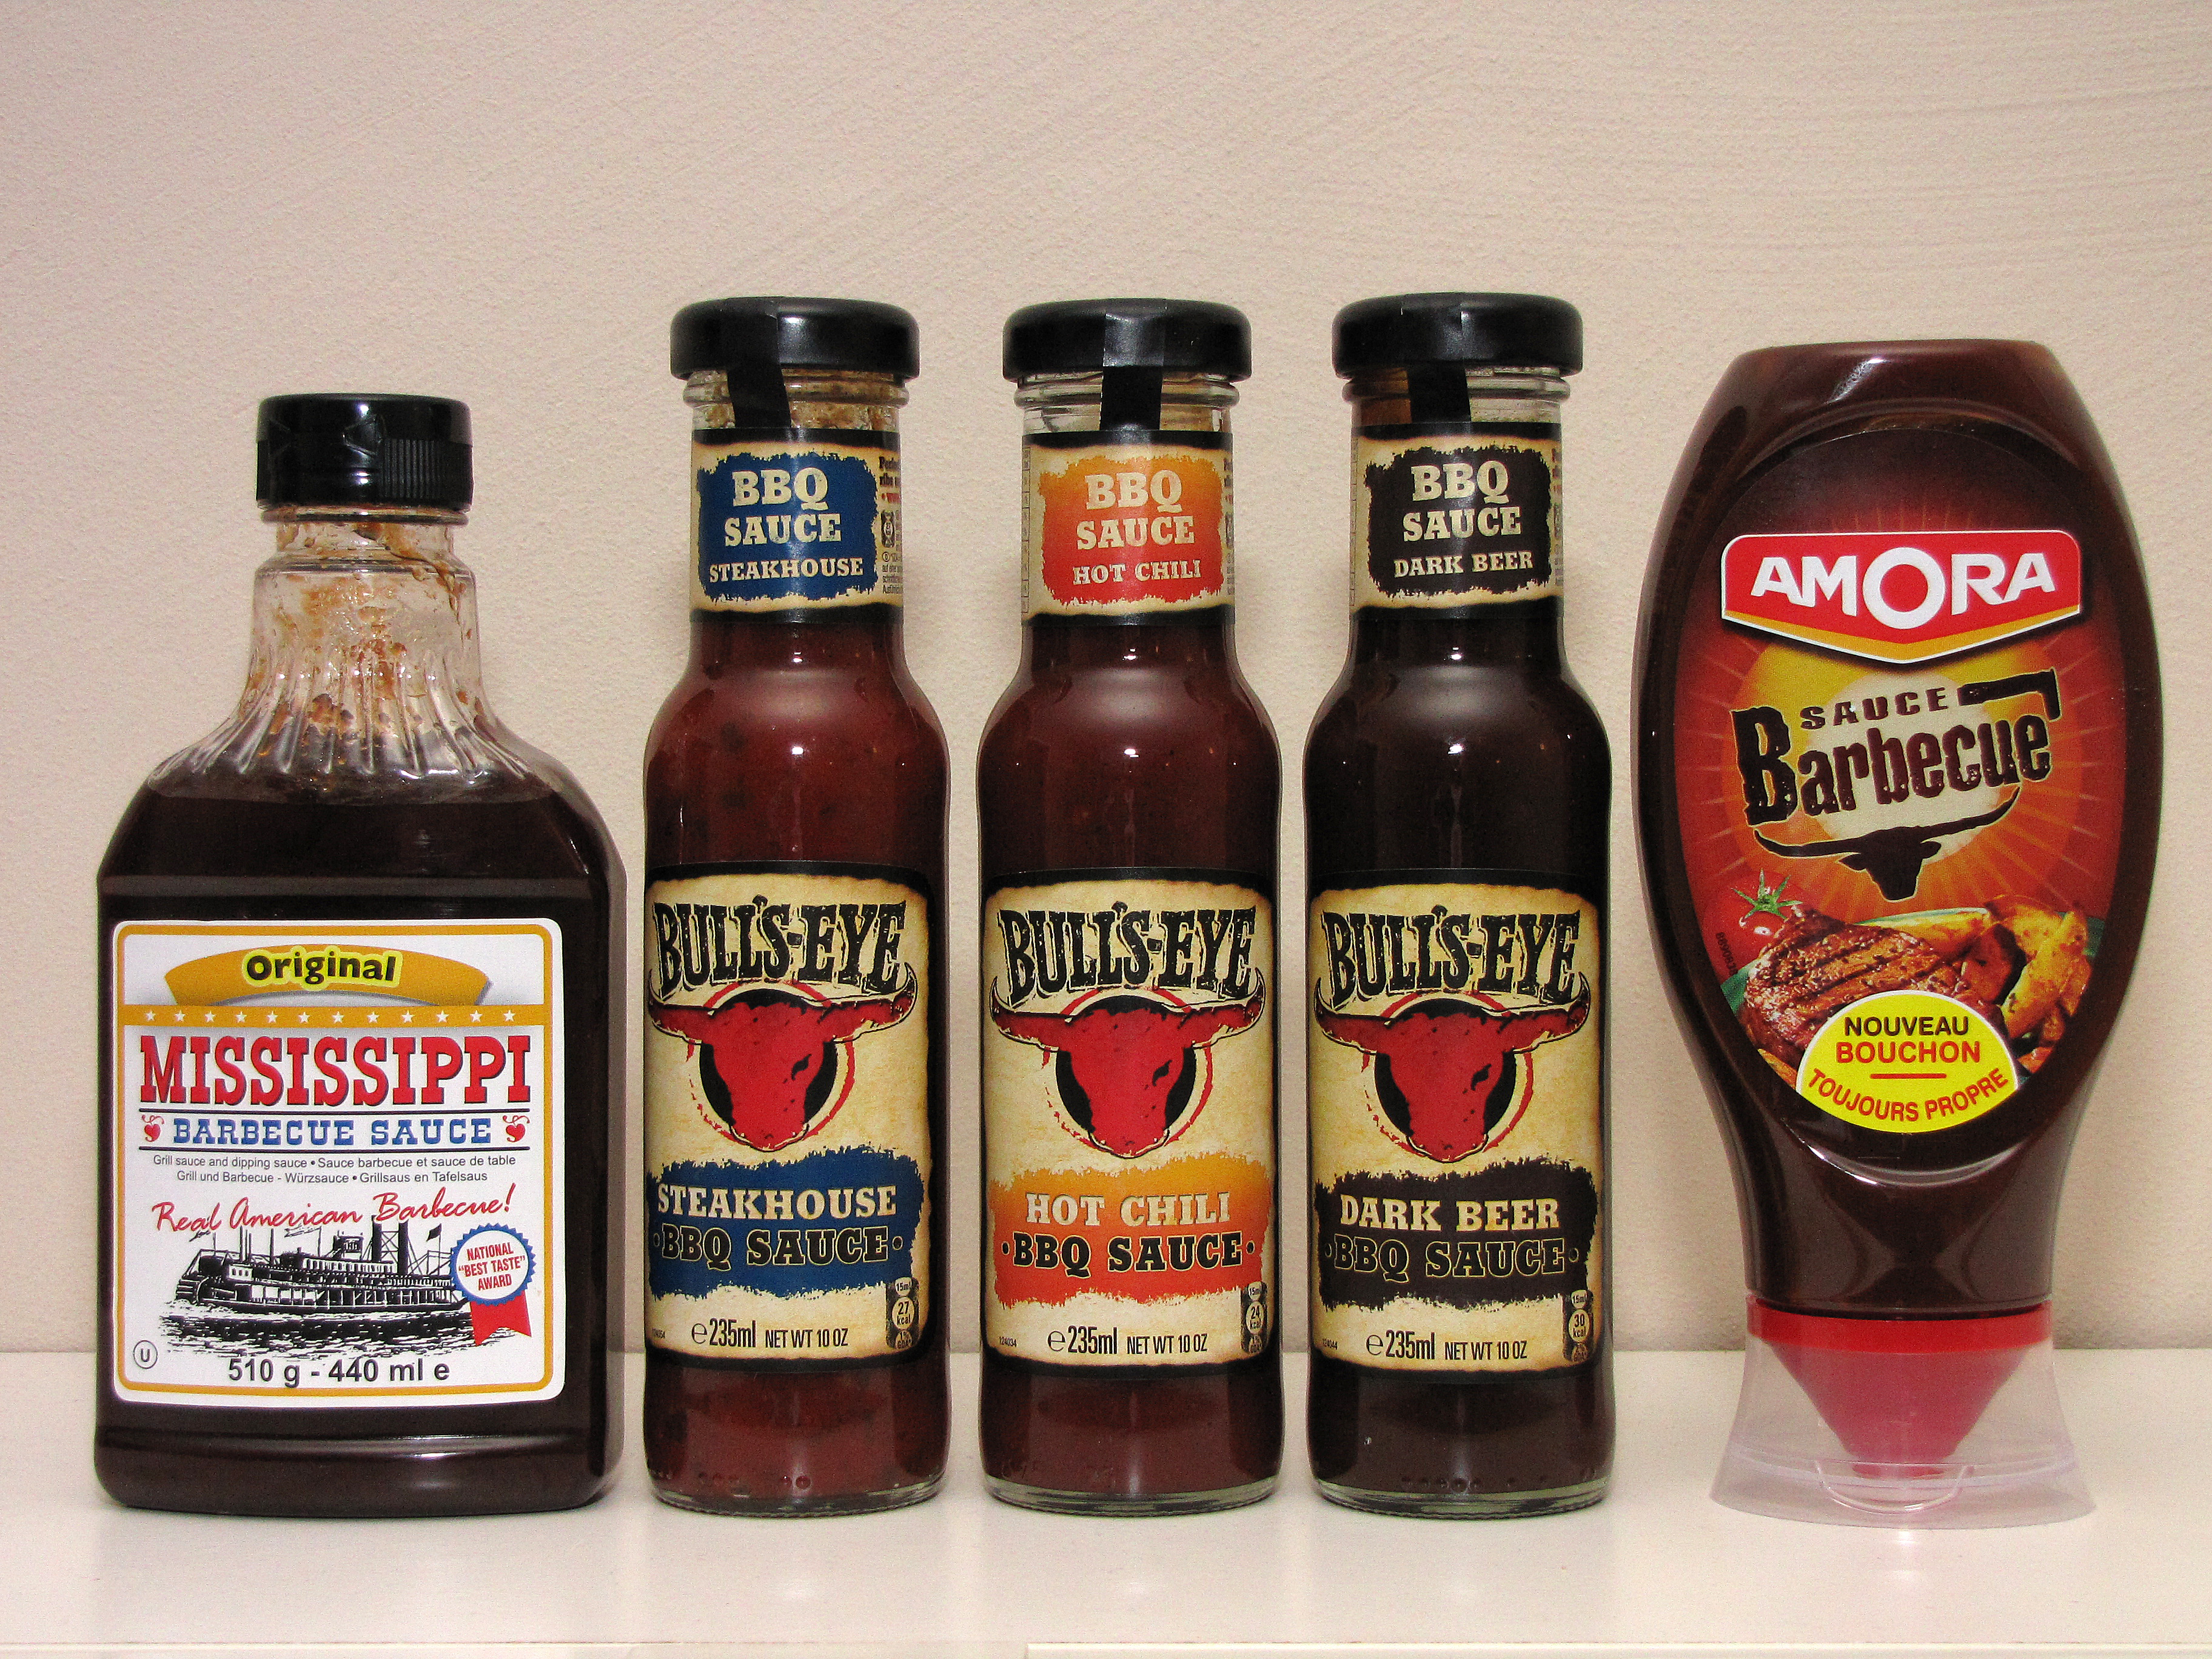
I start with fewer bottles than most people expect. Three is usually enough. One sauce should be familiar and crowd-pleasing, one should add contrast, and one can bring the heat or the tang. That combination gives you flexibility without creating a bottle museum on the picnic table.
Choose by flavor family, not by impulse
It helps to think in flavor families. A sweet sauce tends to please a wide group. A tangy sauce can wake up richer meats. A spicier sauce gives the bolder eaters something to reach for without making the whole meal inaccessible.
- Sweet: Good for ribs, burgers, and kid-friendly plates.
- Tangy: Nice with pulled pork, chicken, and anything that needs a little lift.
- Spicy: Best for guests who want a little kick without turning the meal into a challenge.
- Smoky: Useful when you want the sauce to echo grill flavor instead of competing with it.
If you want a sensible default, start with a sweet bottle, a tangy bottle, and one bolder bottle. That mix usually covers the table without argument. For a practical read on choosing flavors, the USDA grilling guidance is useful because it keeps the focus on timing and safe handling, which is where many cookout mistakes begin.
Match the sauce to the meat
Here is the simple way I think about pairings. A sauce does not have to be perfect; it just has to behave well with the food next to it.
| Meat or main | Good sauce choice | Why it works |
|---|---|---|
| Chicken | Sweet, tangy, or lightly spicy | Chicken is flexible and likes sauces that add direction without overpowering it |
| Pork | Tangy or sweet-and-tangy | Pork handles brightness well and benefits from a sauce with some lift |
| Beef | Smoky or bolder spicy sauce | Beef usually welcomes deeper flavor and a stronger finish |
| Burgers | Sweet, smoky, or a mild table sauce | Too much heat can crowd out the burger itself |
| Ribs | Sweet glaze plus one tangy option on the side | Ribs can carry bolder flavor, but a side sauce keeps the meal flexible |
| Vegetables | Light tangy or mild sweet sauce | Veggies usually need balance more than heaviness |
One bottle does not have to do every job. That is what makes the lineup easier. If one sauce is for glazing and another is for dipping, you will feel more organized before the first plate leaves the serving table.
My practical rule
If I am unsure what to choose, I pick one safe crowd-pleaser, one bottle with personality, and one backup that feels gentle. That rule has saved many dinners from the classic cookout problem: half the guests want “a little sauce,” while the other half want “just one more spoonful.” The sauce table should be ready for both groups.
2. Serving Tools: Brush, Spoons, Ramekins
A good sauce lineup can still feel chaotic if the serving tools are missing. I think of the tools as the small support team behind the meal. They keep the work neat, they keep the bottles from becoming shared messes, and they help each sauce stay in its lane.
What to have out before cooking starts
- Brush: For glazing meat in thin layers near the end of cooking.
- Spoons: For serving sauce into ramekins or onto plates without bottle drips.
- Ramekins or small bowls: For dipping sauces, tasting samples, and table service.
- Tongs: For moving food and avoiding unnecessary hand contact.
- Paper towels or a cloth towel: For the inevitable moment when someone gets a little overconfident with the bottle cap.
Easy-to-clean tools are your friend here. Stainless steel, dishwasher-safe silicone, and simple ceramic ramekins save time later. The goal is not to look formal. The goal is to make the sauce station easy to reset if a bottle gets sticky or if a guest asks for a second round before you have even sat down.
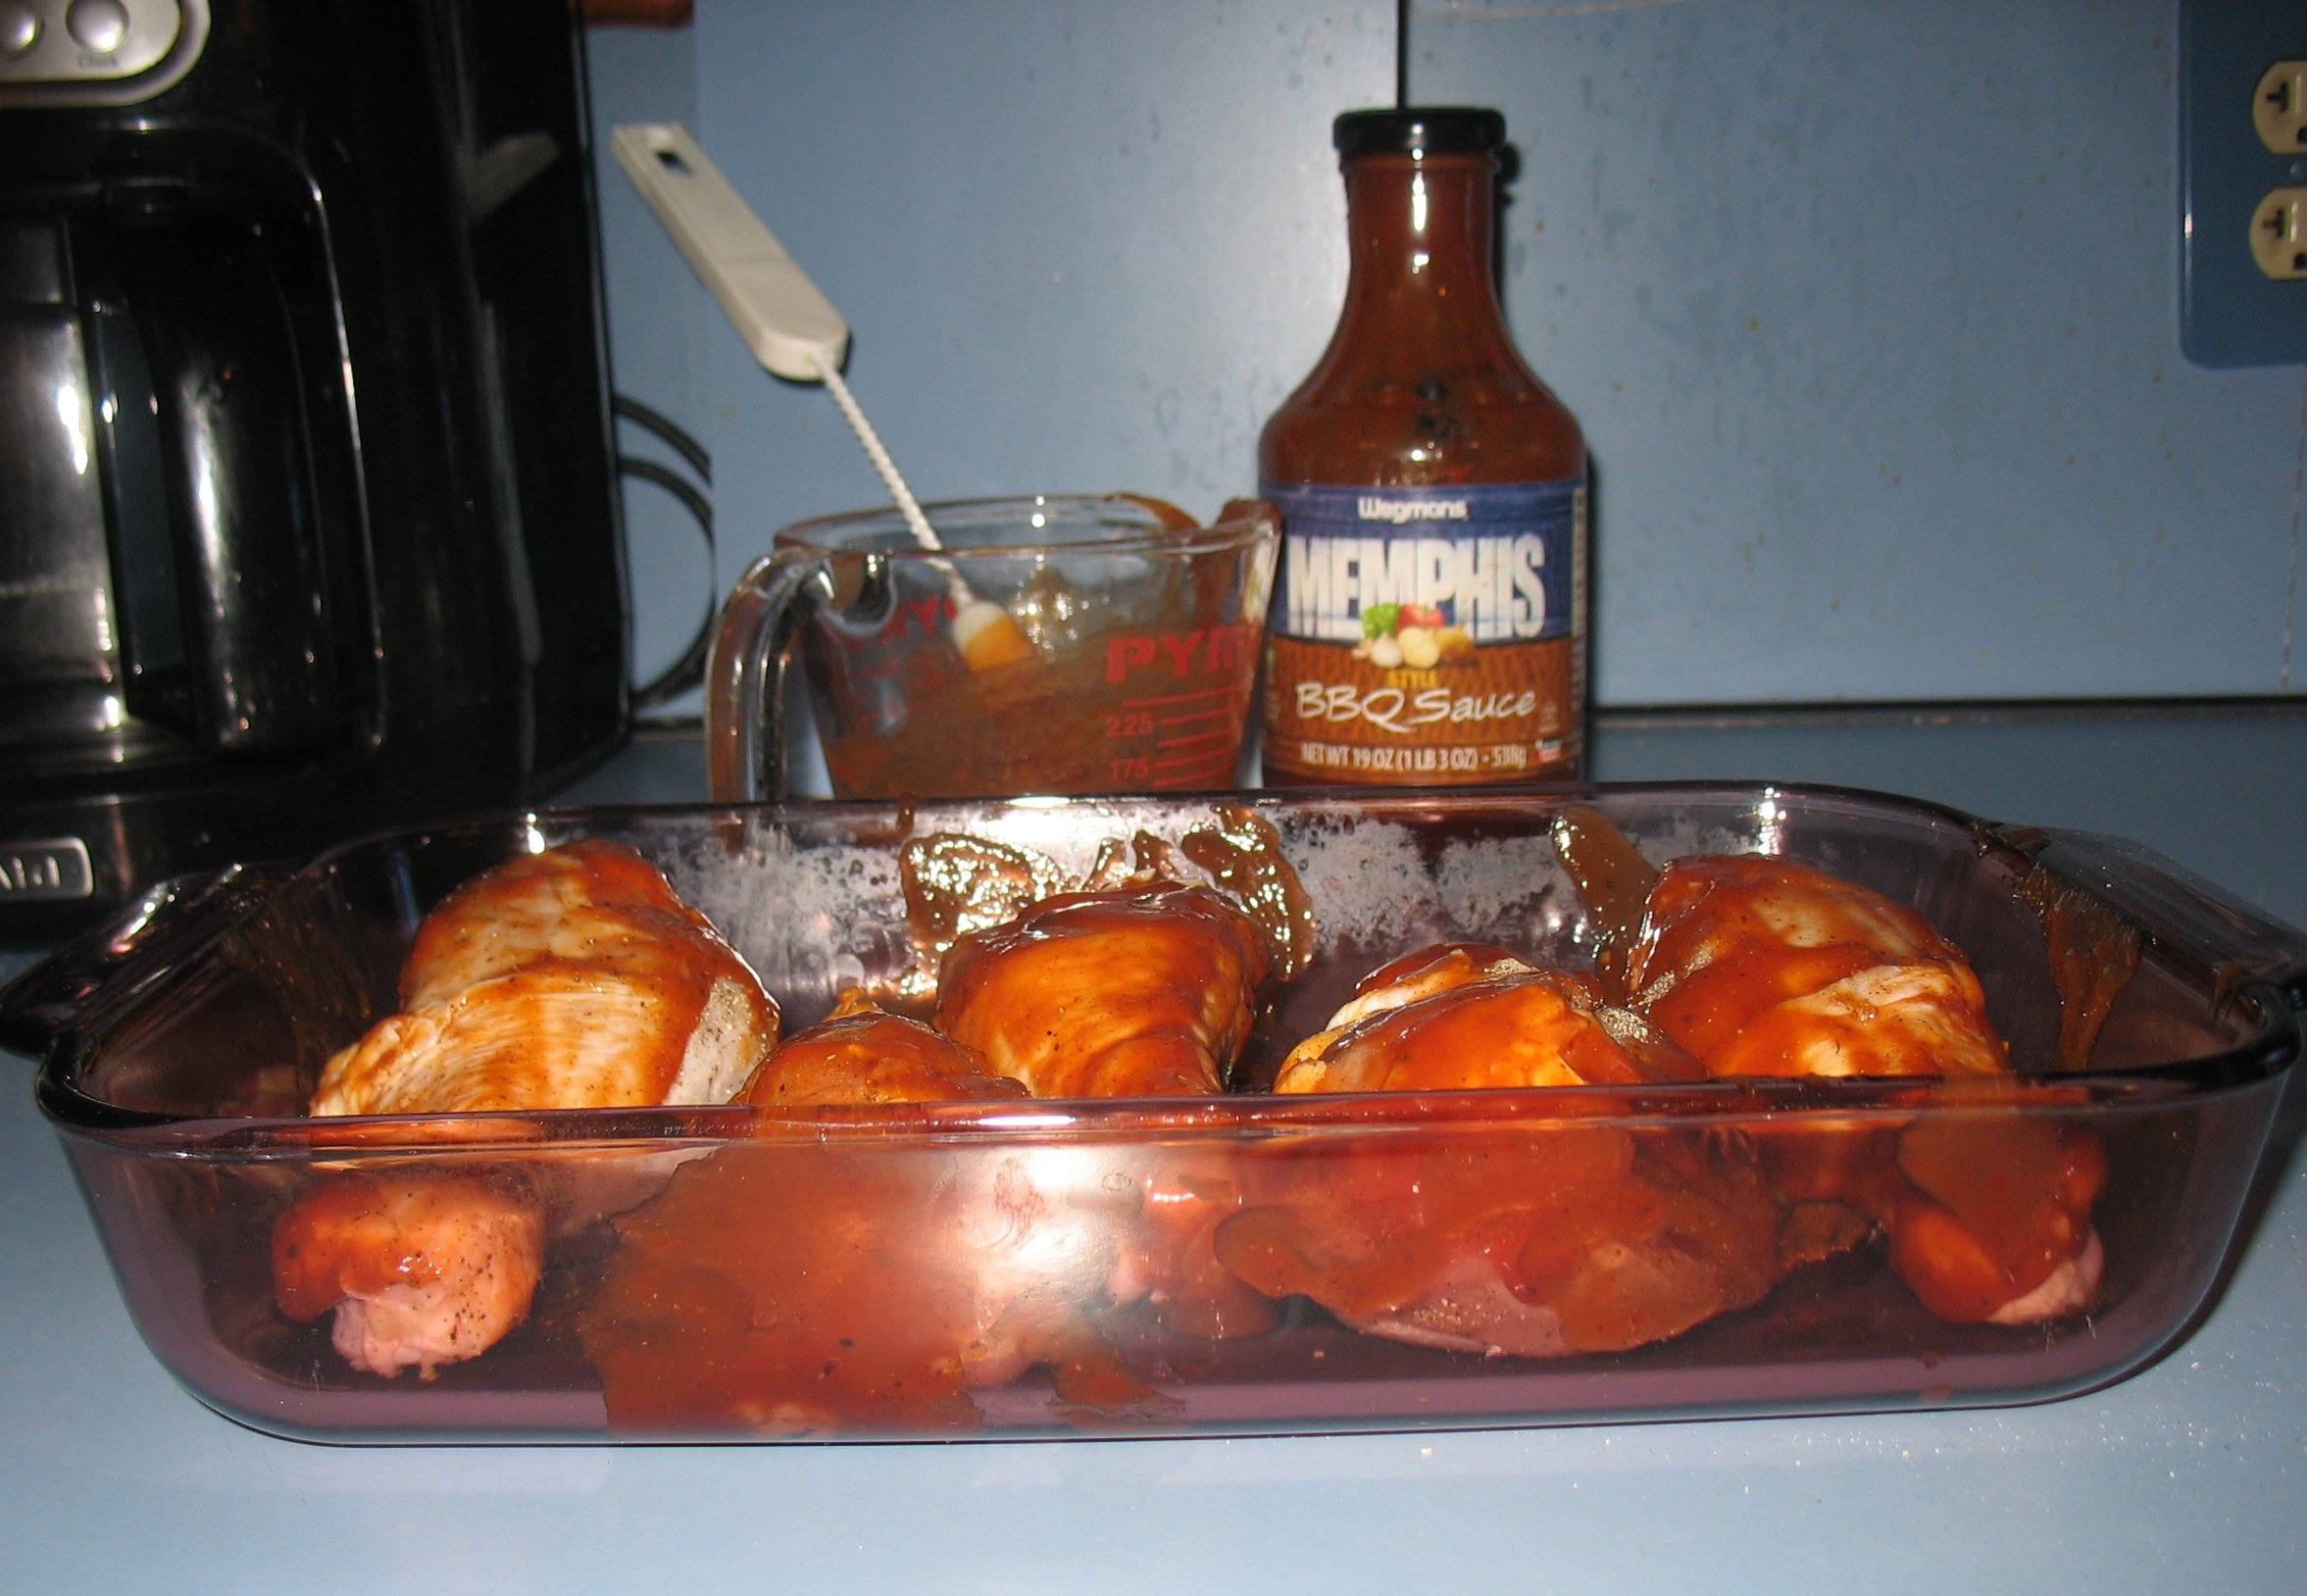
The image above is a good reminder: you do not need a complicated setup to brush on sauce well. You need a brush that reaches the food, a bowl of sauce that is easy to access, and enough space to move without bumping every dish on the table.
If you are serving several sauces, consider giving each one its own spoon or small ladle. That keeps flavors from blending together before anyone wants them to, which is especially helpful when one sauce is mild and another is unexpectedly serious about the heat.
How many tools do you actually need?
For a small cookout, I would keep it simple: one brush, two spoons, three ramekins, and a clean backup spoon if the crowd is larger than you thought. For a bigger group, add extra ramekins rather than one giant shared bowl. Smaller servings are easier to label, easier to refill, and easier to keep clean.
3. Dipping vs. Glazing Plan
One of the easiest ways to make a cookout smoother is to decide ahead of time which sauces are for dipping and which ones are for glazing. That decision sounds small, but it prevents a lot of clumsy moments at the grill. It also keeps the food tasting the way you meant it to taste.
What dipping does best
Dipping sauce belongs on the table, not on the heat. It gives guests control and lets them add flavor after they taste the food. That works especially well for chicken strips, wings, fries, burgers, and sliced pork. Dipping is also the easier choice if you have a mixed crowd and you do not want every plate to come out the same.
- Use dipping sauces for foods that are already fully cooked.
- Keep the dipping bowl separate from the cooking area.
- Offer at least one mild option so the whole table has an easy choice.
- Refill small bowls more often instead of leaving one overfilled dish out all afternoon.
What glazing does best
Glazing is a different job. It is the sauce you brush on near the end so the food gets a shiny finish and a little extra flavor. That works beautifully on ribs, chicken thighs, burgers, and any grilled item that can handle a final coating. The trick is to wait until the food is nearly done, then brush on thin layers rather than one thick, sticky flood.
Thin coats are kinder to the food and easier to control. They give the sauce time to set without burning or turning bitter. If you need a primer on safe handling and grilling timing, FoodSafety.gov’s cookout guidance is a strong backstop because it keeps food handling and serving order clear.
A simple division of labor
Here is an easy way to split the work:
- Table sauce: sweet or mild, for dipping and finishing.
- Brush sauce: sticky enough to glaze, but not so thick that it clumps.
- Backup bottle: tangy or spicy, kept separate for guests who want more punch.
When the roles are clear, the cookout feels calmer. Nobody has to wonder whether a bottle on the table is meant to go on the grill or stay on the side. That may sound like a tiny detail, but tiny details are the difference between a sauce station that works and one that turns into a half-finished discussion.
4. Napkins and Wipes: The Unromantic Essentials
This is the part that gets overlooked until somebody is standing there with sauced fingers and a smile that says, “Where is a napkin when you need one?” I always treat napkins and wipes like the quiet heroes of the cookout. They do not get applause, but they save everyone a little dignity.
What to set out
- Napkins: Keep a full stack near the food and another by the drinks.
- Wet wipes: Useful for sticky hands before someone reaches for the serving spoon again.
- Paper towels: Best for quick spills and sauce drips on the table.
- Small trash bin or bag: Helps wrappers and used napkins disappear quickly.
Disposable napkins are the easiest for a backyard meal because guests can grab them without hesitation. Cloth napkins can work too if you are setting a more formal table, but I would still keep a disposable stack nearby. Cookouts are not the place to make people feel like they have to ask permission before cleaning their hands.
For the sticky-hands moments, the CDC’s handwashing guidance is a useful reminder that the cleanup plan should be as easy to find as the sauce.
Where to place them
Put the first stack where the food is served, not across the yard. Put the wipes close enough that someone can reach them while balancing a plate. If you have children at the cookout, place another small pile somewhere obvious and low enough for them to grab without asking for help every time.
The rule is simple: if a guest has to go searching for a napkin, the napkin is too far away. That is true for adults too, especially once barbecue sauce is involved.
Clean-up is part of hospitality
Food safety and practical clean-up overlap more than people realize. The USDA and FoodSafety.gov both remind cooks that a good outdoor meal depends on basic organization. The same is true for napkins and wipes. If the station is tidy, guests relax. If the station is messy, everyone notices, even if nobody says so out loud.
5. Labeling and Heat Separation
Once sauce bottles and ramekins start multiplying, labeling becomes your best friend. I am not talking about fancy calligraphy. I am talking about simple labels that tell people what they are about to taste and where it belongs.
Label what matters
- Mild – for guests who want flavor without heat.
- Medium – for people who enjoy a little kick but still want balance.
- Hot – for the guests who say “I like it spicy” and mean it.
- Dipping only – for sauces that should stay on the table.
- Brush for grilling – for anything reserved for the cook.
You can use masking tape, small label flags, or even a marker on disposable cups. The point is not elegance. The point is clarity. If guests know what is in front of them, they can choose faster and you spend less time answering the same question three different ways.
Keep hot and cold separate
Hot sauce and cold sauce should not share the same bowl if you can avoid it. If you are serving one sauce warm and another chilled, give them separate spots on the table. That keeps flavor and temperature where they belong. It also reduces the chance that a spoon from the spicy bottle drifts into the mild bowl and changes the whole mood of the meal.
Color helps too. Use different colored ramekins, bowls, or labels so the eye catches the difference immediately. A small visual cue saves a lot of explaining. It also makes the table look organized without requiring a matching set.
A simple separation rule
Here is the one I use: the sauce for brushing should live near the grill, and the sauce for dipping should live near the plates. If a bottle or bowl has to cross the yard to do its job, move it earlier in the setup instead of later in the rush. That keeps the workflow smoother and lowers the chance of accidental cross-contact.
6. Backup Plan: Keep a Mild Option
Every cookout benefits from one quiet, dependable sauce. This is the bottle that makes sure nobody is left out because a sauce ran too hot, too smoky, or too intense. A mild option is not boring. It is considerate. It is the bottle that says, “You can still eat comfortably here.”
What counts as mild?
Mild does not have to mean plain. It can be sweet, slightly tangy, or tomato-forward with a soft finish. It just should not punch people in the mouth before the rest of the meal has a chance to speak. If you are mixing your own, keep the flavors simple and easy to trust.
Here is a very basic mild sauce idea that works as a starting point:
- 1 cup tomato-based sauce
- 1 to 2 tablespoons brown sugar or honey
- 1 tablespoon apple cider vinegar
- 1 teaspoon garlic powder
- Salt to taste
Warm it gently, stir until smooth, and taste before serving. If it needs more sweetness, add a little. If it feels flat, add a small splash of vinegar. The goal is balance, not bravado.
Why the mild bottle matters
People come to a cookout with different preferences. Some want heat. Some want smoke. Some just want dinner to taste good and not turn into a dare. A mild option keeps the whole table included. It also gives you a safe answer when somebody asks for sauce “but not too much.”
Inclusion at the sauce table is part of good hosting. The person who wants less heat should not have to make a special request after the plates are already built.
A mild-option checklist
- Choose one sauce that is clearly gentler than the others.
- Put it in its own labeled ramekin or bottle.
- Keep the serving spoon clean and separate.
- Make sure it is easy to spot from across the table.
7. Before Guests Arrive: Quick Taste Test
I always think the best time to discover a sauce problem is before anyone else tastes it. A quick taste test does not need to be dramatic. It can be as simple as sampling each bottle with a spoon, then checking whether the lineup makes sense together.
What to taste for
- Sweetness: Is it pleasant, or does it feel too heavy?
- Salt: Does the sauce brighten the food, or does it taste flat?
- Acidity: Is there enough tang to keep the flavor awake?
- Heat: Is the spice level manageable for the table you expect?
- Texture: Does it brush on easily and drip only a little?
When I taste a sauce line-up, I am not looking for perfection. I am looking for clean roles. One bottle should feel friendly. One should feel lively. One should feel like the bottle you reach for when someone wants “a little more flavor” without making the meal harder to eat.
You can also ask one or two family members to taste with you. That is often more useful than guessing alone, because people notice different things. One person may pick up too much sweetness, while another notices that the sauce needs more tang. Between the two of them, you get a better answer than you would from a rushed first taste.
A quick pre-guest routine
- Set out the bottles and label them.
- Sample each sauce with a clean spoon.
- Adjust only one thing at a time.
- Check that the mild option still tastes mild.
- Confirm the brush sauce is ready for the grill and the dip sauce is ready for the table.
If a sauce needs a small correction, make it now. Add a little water, vinegar, sugar, or seasoning if necessary, then taste again. Small changes are easier to manage before guests arrive than after everybody has already formed an opinion with a plate in hand.
How I Would Set Up the Whole Table
If I were putting this together for a weekend cookout, I would keep the layout simple and direct:
- One sauce for glazing near the grill.
- One sweet or tangy sauce for the serving table.
- One mild backup bottle for guests who want less heat.
- Two clean spoons, one brush, and a few ramekins.
- Napkins, wipes, and a trash bag within easy reach.
- Labels that tell people exactly what they are choosing.
That is enough for a thoughtful cookout without turning the whole event into logistics. It also keeps you from overbuying sauces you will not use, which is a nice bonus when storage space is already being claimed by buns, ice, charcoal, and one suspiciously large bag of chips.
Final Sweep Before the Grill Lights
Before I call the food ready, I like to do one last walk-through. This is the moment where a careful host becomes a calm host. It only takes a minute.
- Are the bottles labeled?
- Are the dipping sauces away from the heat?
- Is the brush sauce close to the grill?
- Are the napkins visible and reachable?
- Did you keep one mild option for everyone at the table?
- Did you taste each sauce and make any needed adjustments?
If you are cooking meat alongside the sauce plan, the USDA’s food thermometer guidance is worth keeping close so the grill side stays as organized as the sauce side.
If the answer is yes, you are ready. And if one thing still needs changing, make the fix now rather than hoping nobody notices later. Guests usually notice when food feels cared for, even if they cannot explain why. That is what this checklist is really about: not just having sauce, but having a setup that makes the meal feel steady and welcoming.
Conclusion: The Small Plan That Saves the Cookout
A good cookout does not need a crowded sauce table. It needs a clear one. Pick 2-3 sauces with different jobs, give each one the right tool, separate the dipping from the glazing, and keep napkins and wipes where people can actually reach them. Add labels, keep a mild backup, and taste everything before the guests arrive. That is the whole game.
If you want more ideas for planning your next meal, you can always start with the homepage or keep browsing the blog for more cookout-friendly tips. The right setup is usually the simple one: a few good choices, a clean table, and enough sauce to make every plate feel cared for.
Key points to remember
- Choose 2-3 sauces so the table stays simple and useful.
- Keep one mild option for guests who want flavor without heat.
- Use brushes, spoons, and ramekins so dipping and glazing stay tidy.
- Separate hot and cold sauces to reduce confusion and cross-contact.
- Set out napkins and wipes before anyone starts reaching for the second helping.
- Taste-test before guests arrive so you can adjust while the kitchen is still calm.